
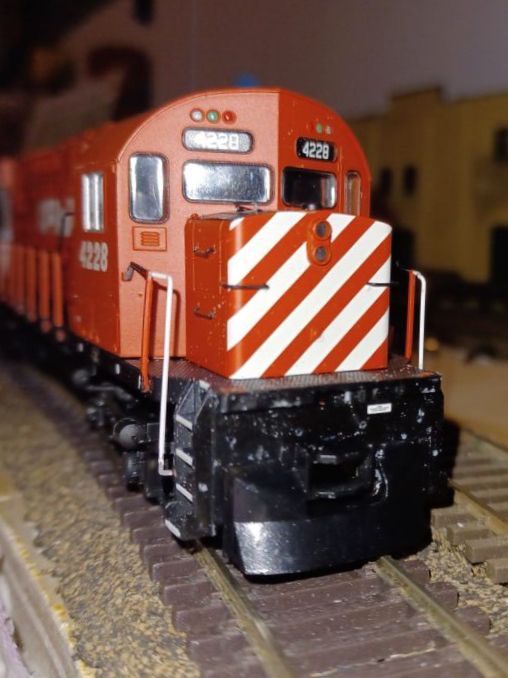
Work on the pilots is needed to install the road pilot CP used. I started with the CalScale pilot (Part 190-582) and followed the Dr. Dan blog where he built this same engine.
I had to cut the pilot in half and add a styrene spacer in.
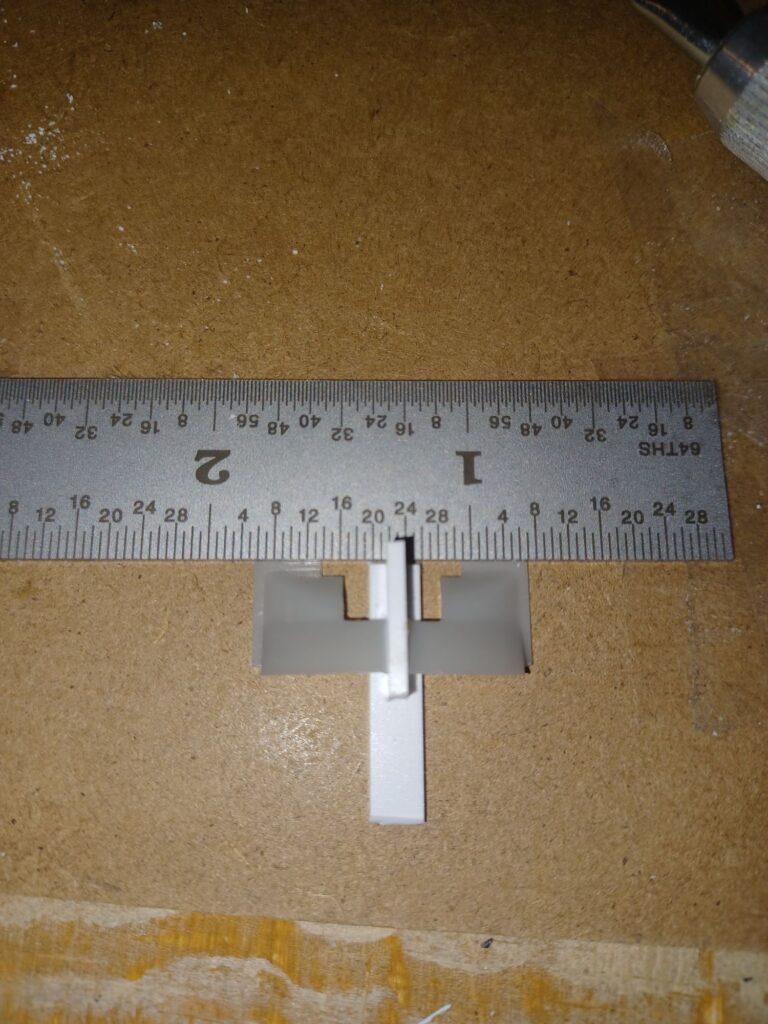
I then sanded and shaped the styrene.
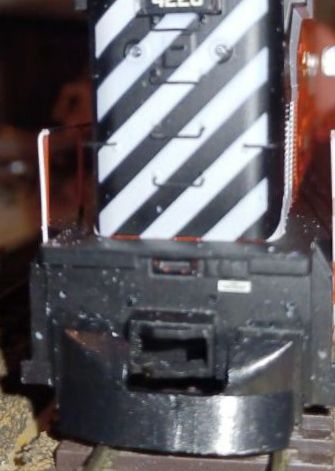
At the same time, there is a notch on the right side of the coupler pocket. I forgot to take a photo after that was done. The Kaslo version of the pilot has this, see photo below for reference.
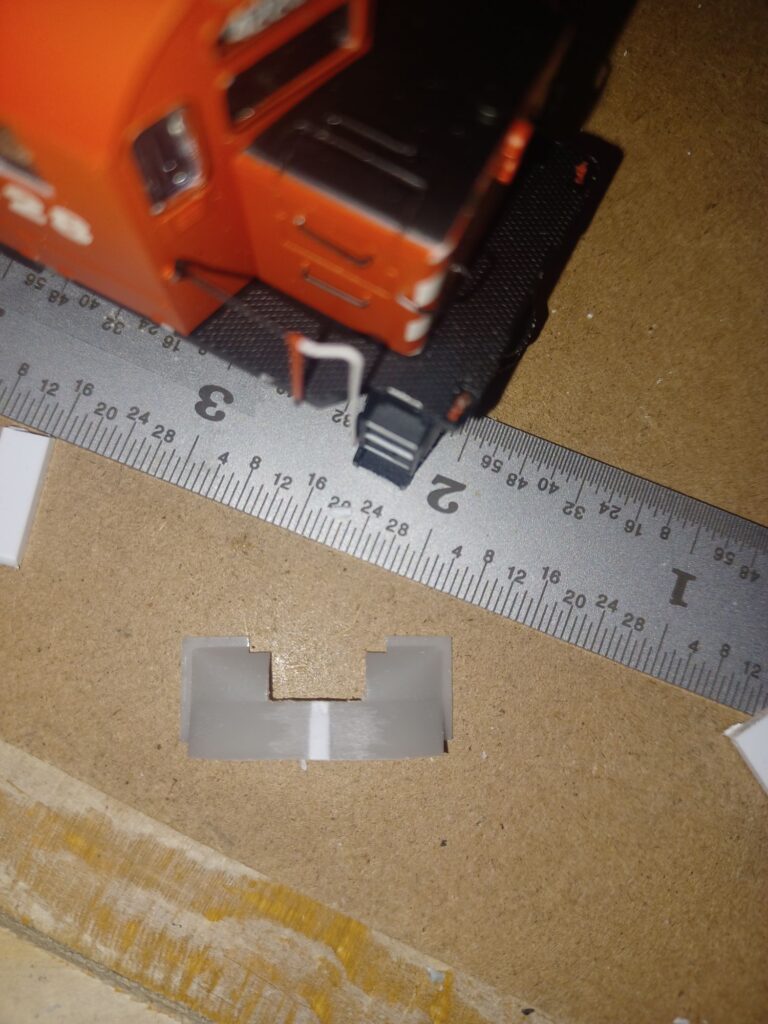
Following this, I carefully glued the pilots on to the shell, using the reference for the old pilots as where to glue the new ones. I assumed they’d be the same. Maybe, maybe not. If you are looking extremely close at this model and comment, you will be escorted out of the layout room.
I also cut some styrene strip to close the backside where I butchered the pilot removal. Once painted black, no one will see. If you see, read above point.
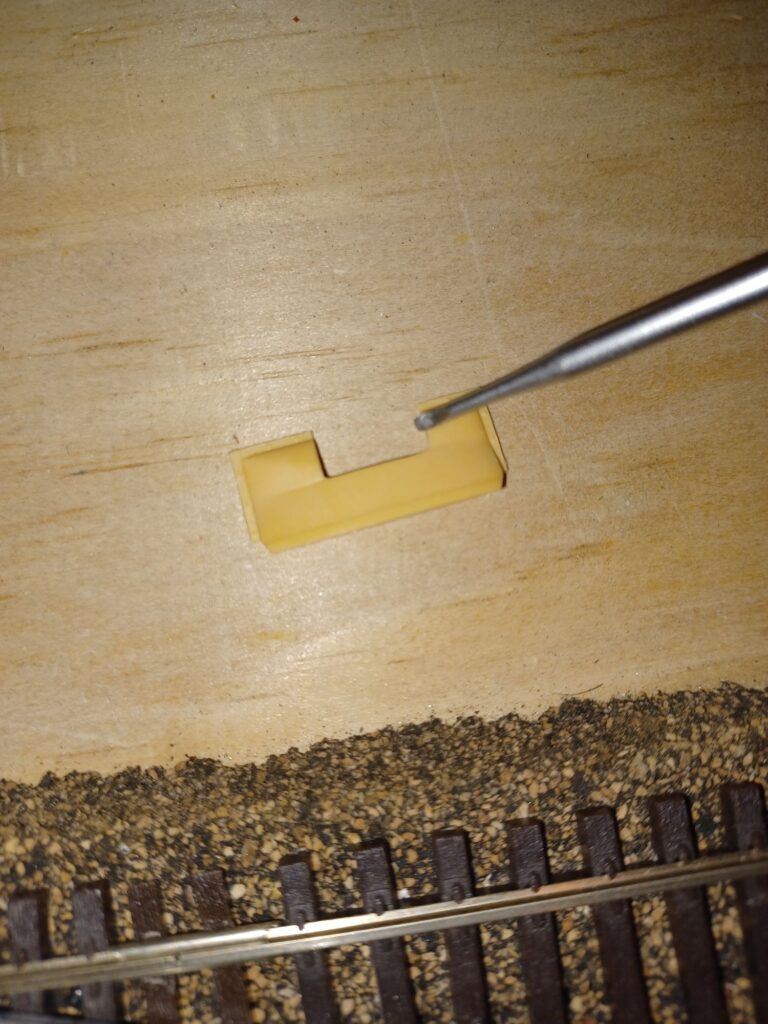
Lastly for today, I got out the paint – a ten year old bottle of badger modelflex black paint. A quick brush paint pretty much matches the factory paint. I am going to weather this after so I am not going to be finicky of exactly matching the paint. Weathering will cover all.
That’s all for now. Next up, ditch lights.